Windows deployment with Autopilot Device Preparation

22 May ’24 was the data that Microsoft announced the next generation of Windows Autopilot (V2). Now this is finally available we can implement and test it ourselves. As i am building a complete new tenant from scratch, this came at exactly the right moment. Lets dig into it!
Autopilot Device Preparation (V2) is the successor to Windows Autopilot (V1) as we know it today. Windows Autopilot is not being replaced (for now) but will stay and keep working as it does right now. There’s no need to migrate from V1 to V2 for example. The new Autopilot experience is still in development and does not support self-deploying and pre-provisioning (yet). Microsoft is currently working on these parts:
- Customize OOBE and rename devices during provisioning based on organizational structure.
- Self-deploying and pre-provisioning mode.
- Additional admin-specified configurations delivered before allowing desktop access.
- Enhanced optional desktop onboarding experience inside the Windows Company Portal app.
- The ability to associate a device with a tenant.
Autopilot V2 supports personal and corporate device ownership. Most of us will not allow personal devices by using device platform restrictions. If you have done so, enrolling device with Autopilot Device Preparation will fail and result in an error.
The new Autopilot experience does not require uploading hardware hashes anymore. This will now be done via corporate device identifiers. By creating a corporate device identifier you mark the device as a “corporate” device.
Note: Devices can’t use Autopilot V1 and Autopilot V2 simultaneously. Although, Windows Autopilot profiles take precedence over Windows Autopilot V2. In order to get Autopilot V2 you need to remove the hardware hash from Autopilot first!
Create a corporate device identifier
Manual CSV file Input
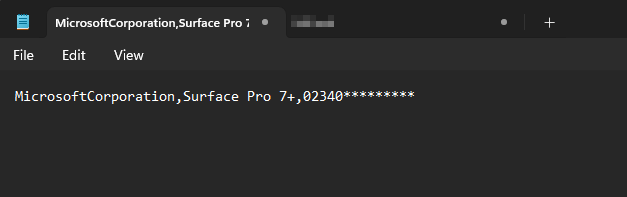
For bulk importing i recommend using a CSV file. This CSV file is straight forward and only requires the Manufacturer, model and serial number. Your CSV will look like this: Manufacturer,Model,Serialnumber
You can get the required values via PowerShell:
Get-WmiObject -Class Win32_ComputerSystem | FL Manufacturer, Model Get-WmiObject -Class Win32_BIOS | FL SerialNumber
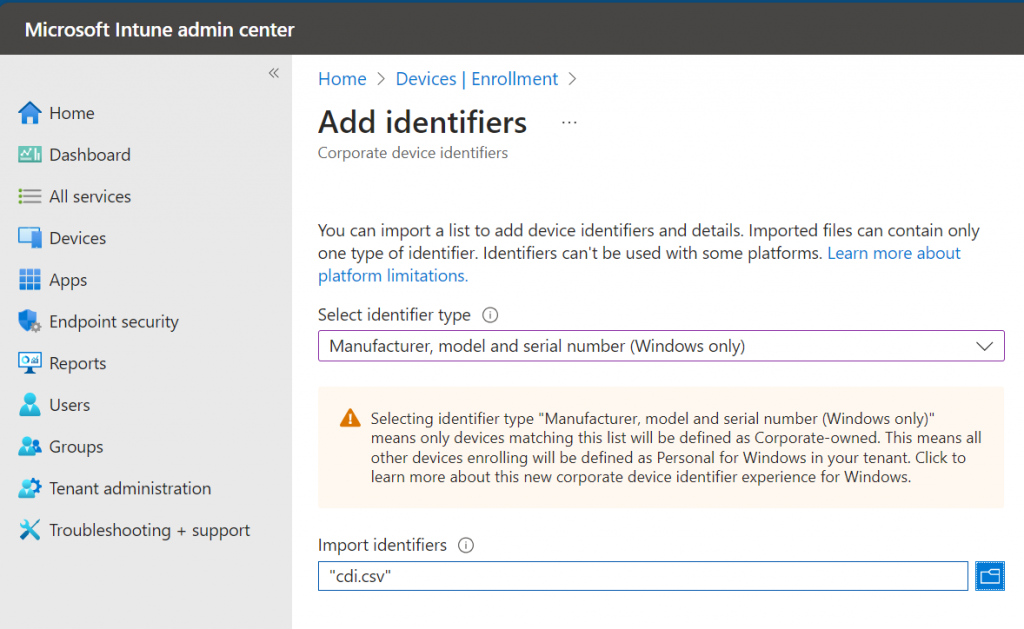
- Open https://Intune.microsoft.com, go to Devices > Enrollment.
- Click Corporate device identifiers.
- Click Add > Upload CSV file.
- This is currently IMEI, Serial or Manufacturer, model and serial number (Windows only). I’ll go for the last one because this is required for the new Windows Autopilot.
- Select the folder icon and browse to the file you want to import.
- Select the .csv file, and then click Add.
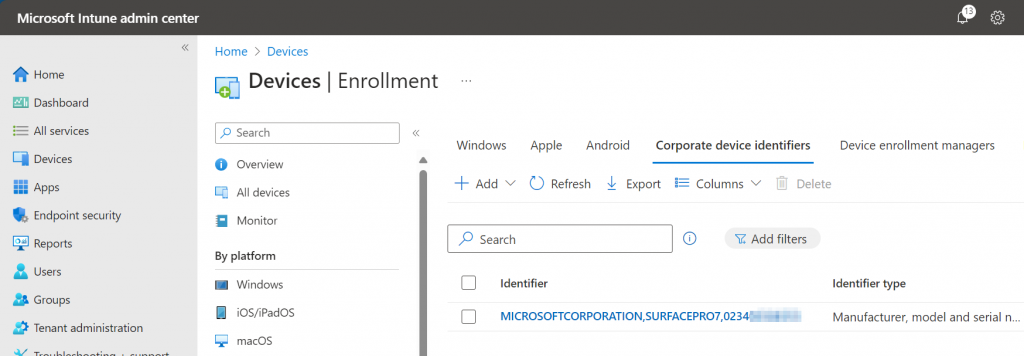
If the import is completed it will look like this:
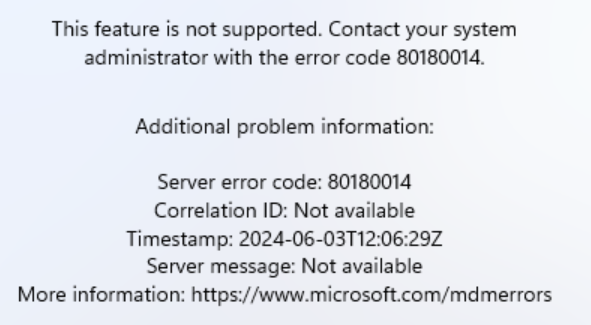
Note: It took a while before the corporate device identifiers where picked up. Enrolling to fast while having personal device enrollment blocked under device enrollment restrictions will lead to error code 80180014. Thanks to Rudy Ooms for sorting this out already!
Implement Device Preparation
Create a new security group
- Open https://Intune.microsoft.com, go to Groups > All groups.
- Click New group
- Group type: Security
- Group name: Pick something you like. For example: Device Preparation – Named – User Driven
- Group description: Optional
- Membership type: Assigned
- Owners: Add Intune Provisioning Client (f1346770-5b25-470b-88bd-d5744ab7952c)
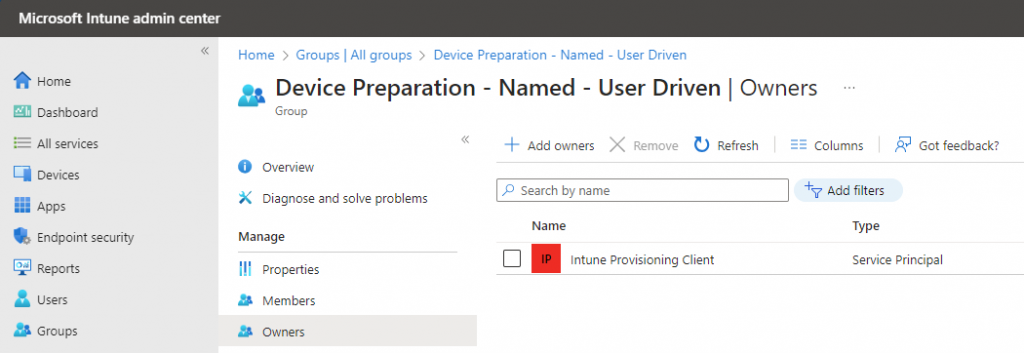
Create a new device preparation profile
1. Open https://Intune.microsoft.com, go to Devices > Enrollment > Device preparation policies.
2. Click Create.
3. Fill in a policy name.
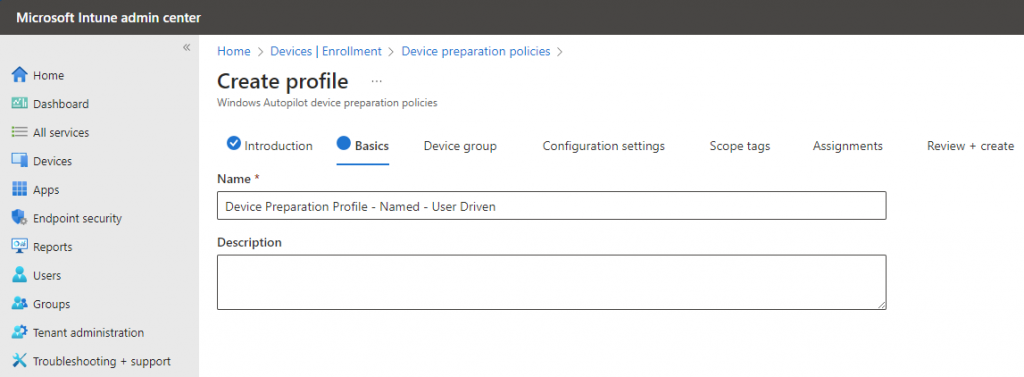
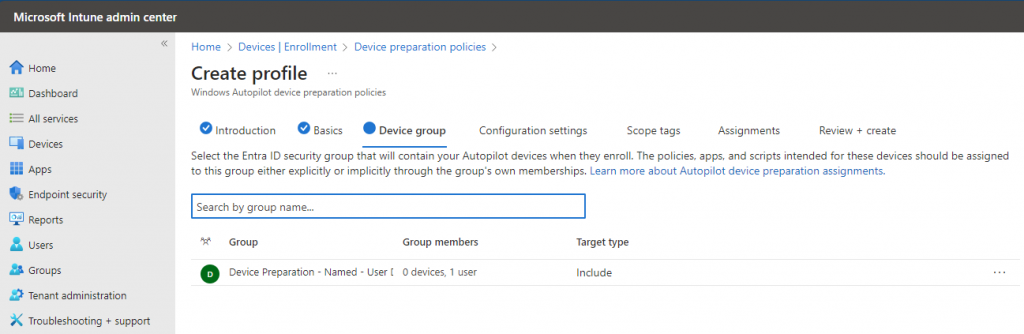
4. Select a group where your devices will be added to as soon as they enroll. This should be a group which has the “Intune Provisioning Client” as owner. It would be the group you created earlier.
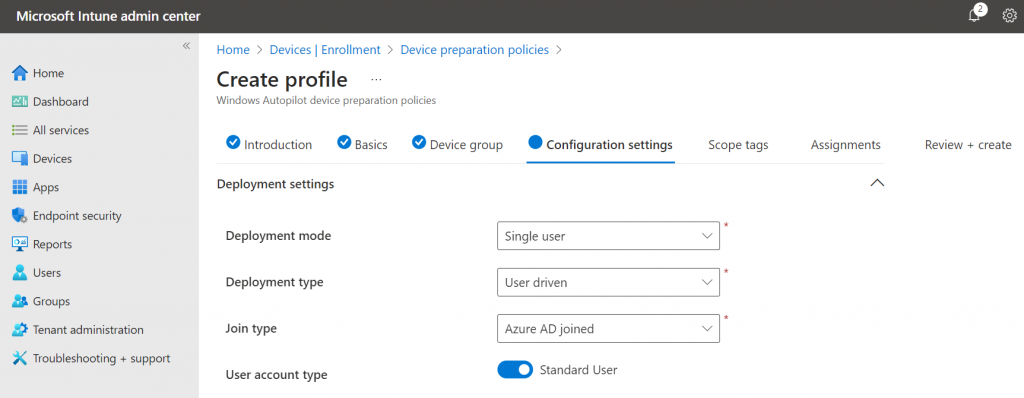
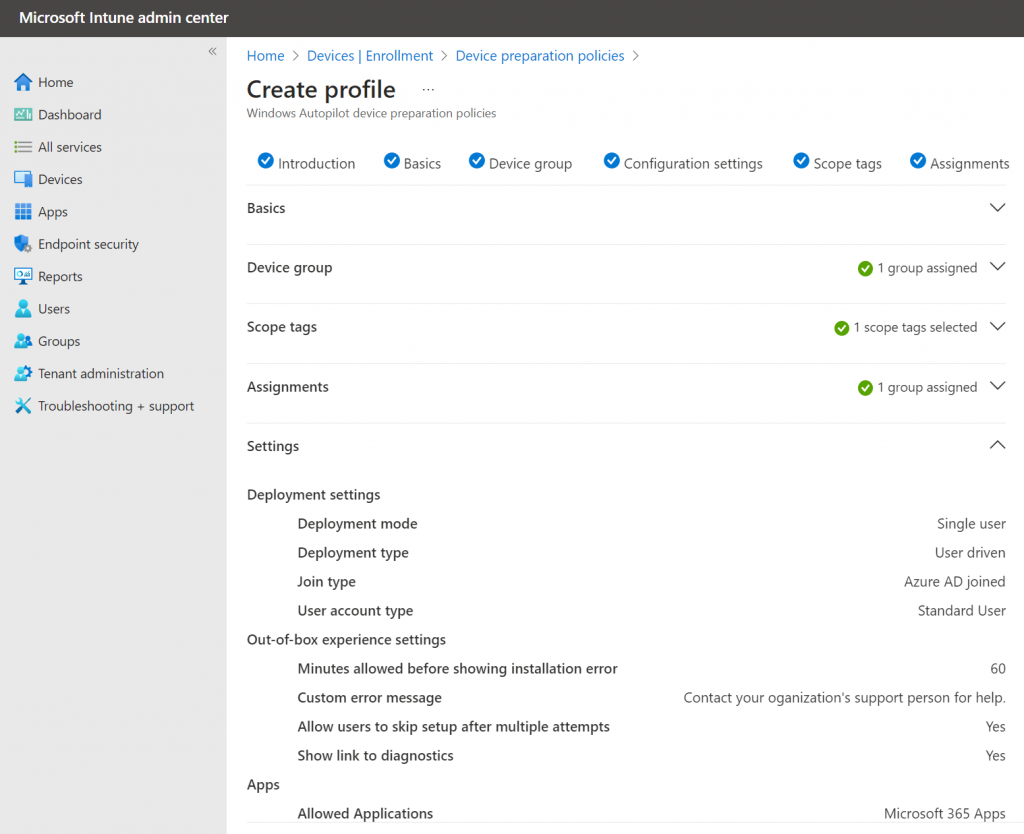
5. Configure your desired deployment setting. There’s not that much to choose from in these early days.
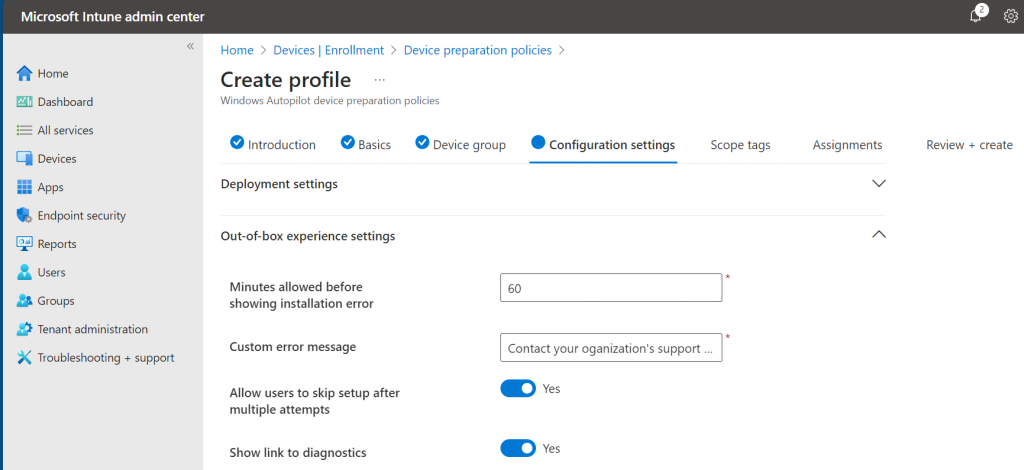
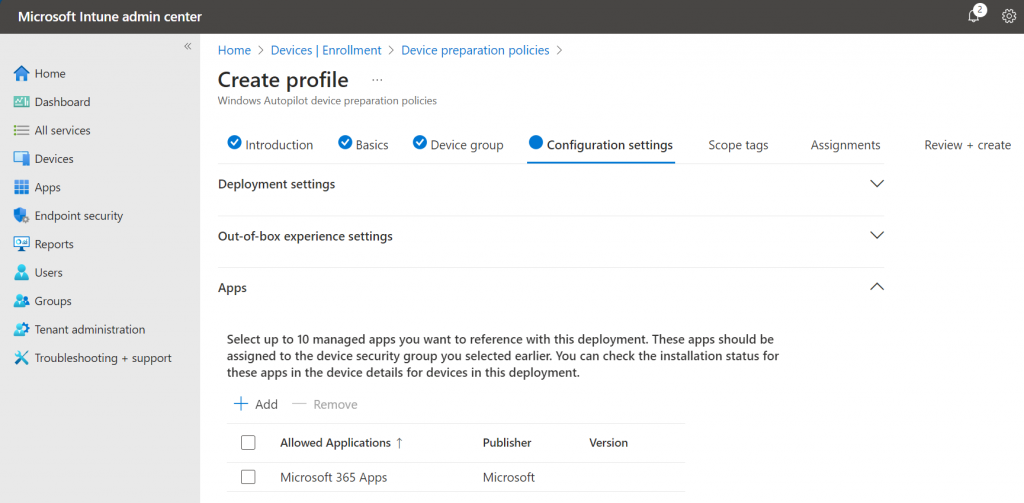
6. Add applications which should be installed while enrolling. This currently supports up to 10 applications. This is optionally.
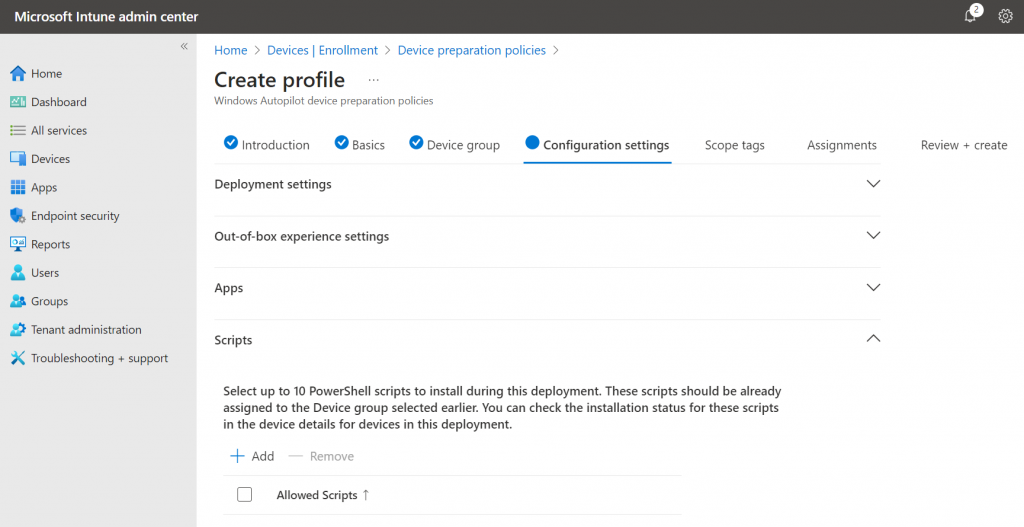
7. Add PowerShell scripts which should be installed while enrolling. This currently supports up to 10 scripts. This is optionally.
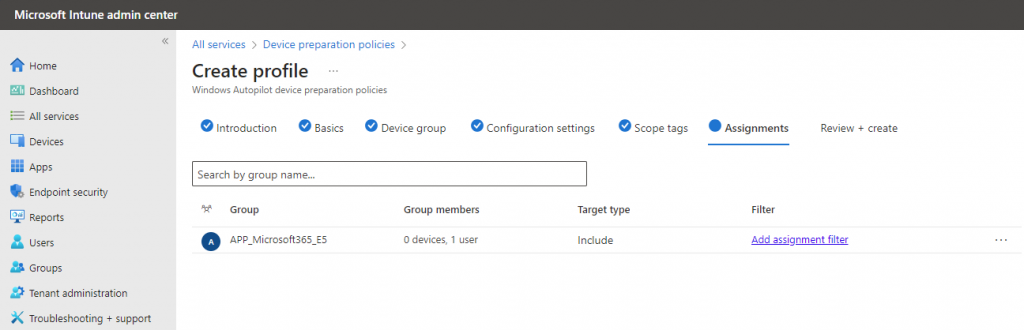
8. Select your desired group which contains users that are allowed to use it. In my case i pick a group which delivers a Microsoft 365 E5 license to a user.
Deploying a device
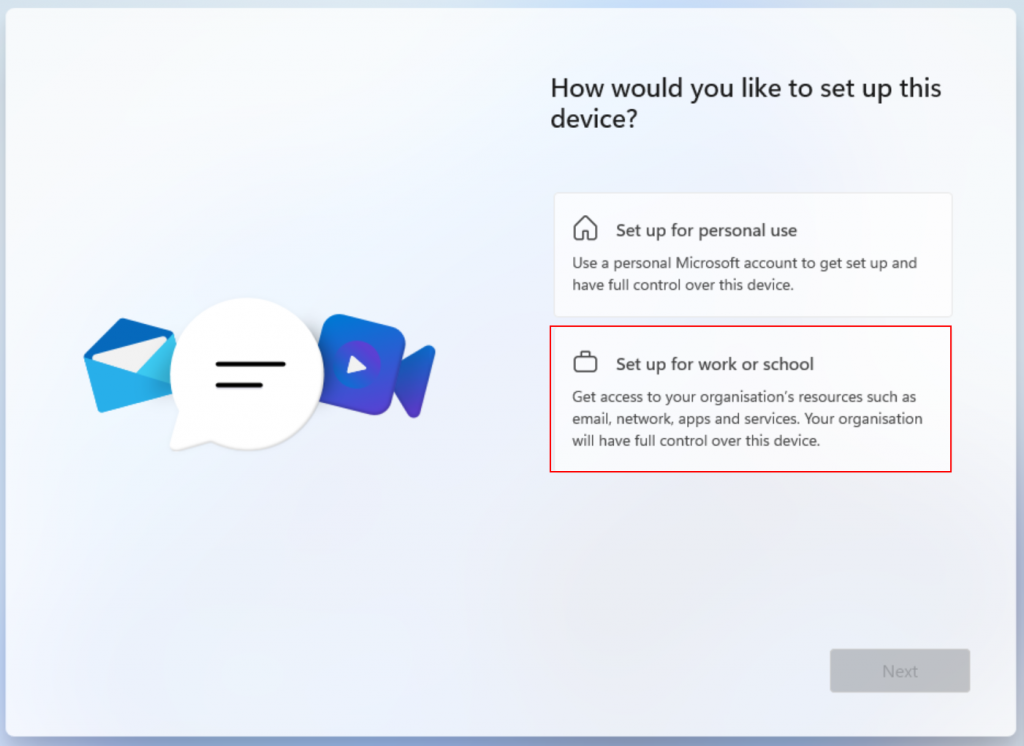
Pick your desired enrollment state. Most of them would be work or school. Otherwise you probably did not find or read this blog.
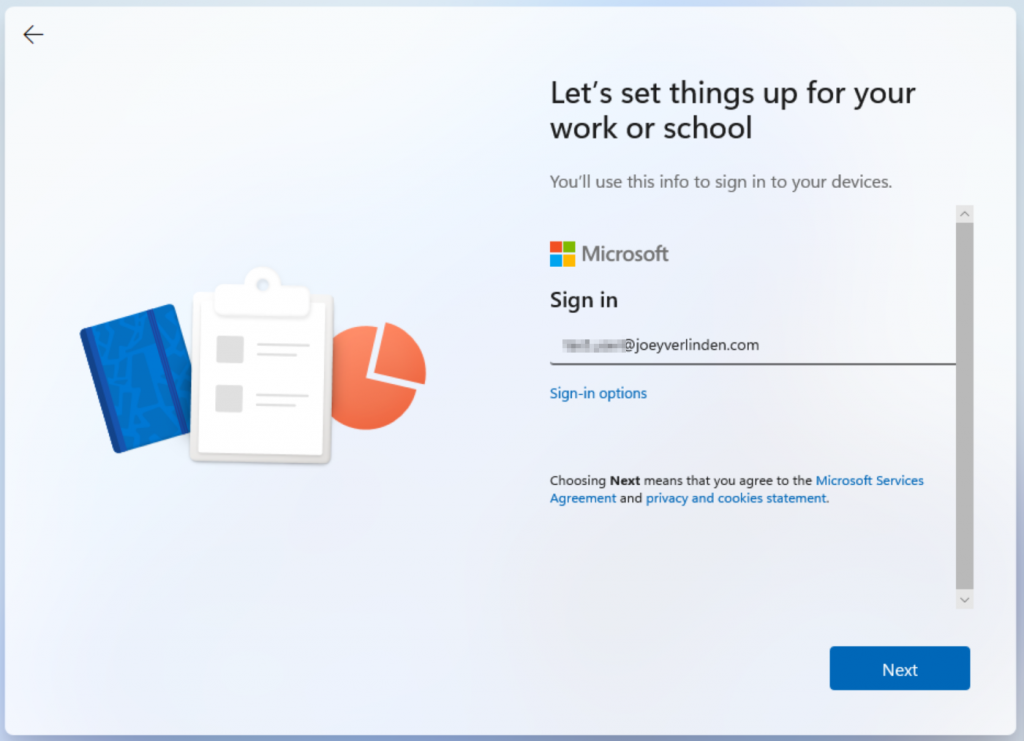
Login using your corporate credentials. Don’t bother not seeing your organization logo/branding like Autopilot V1 does. This is by design. Autopilot V2 gets its profile after logging in while Autopilot V1 gets it before logging in.
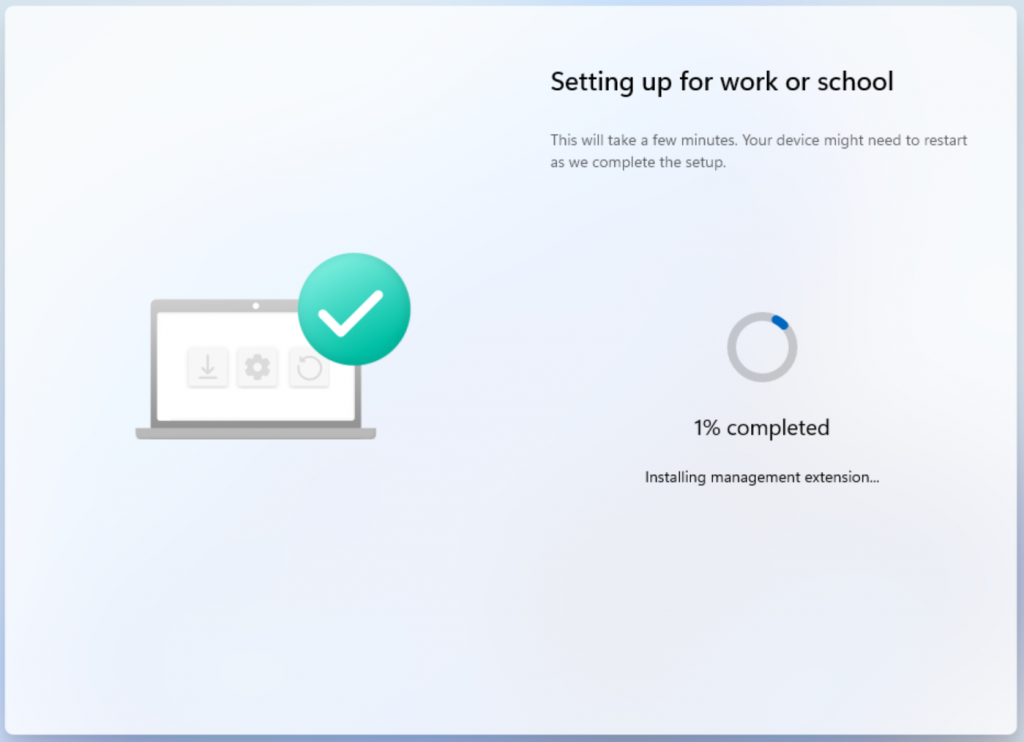
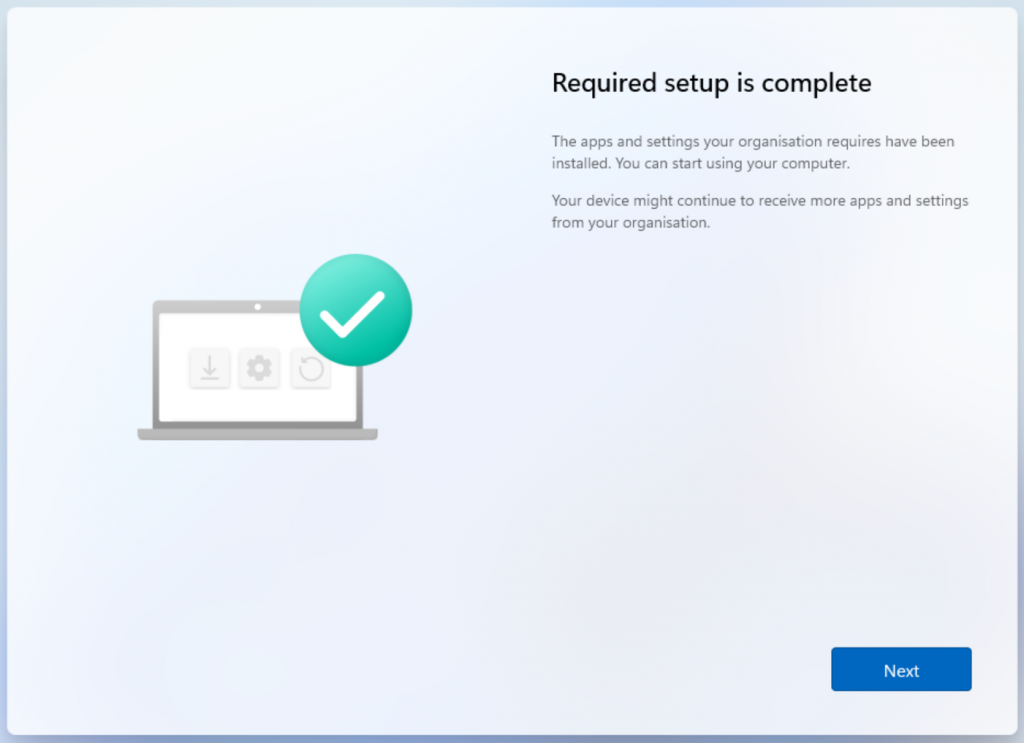
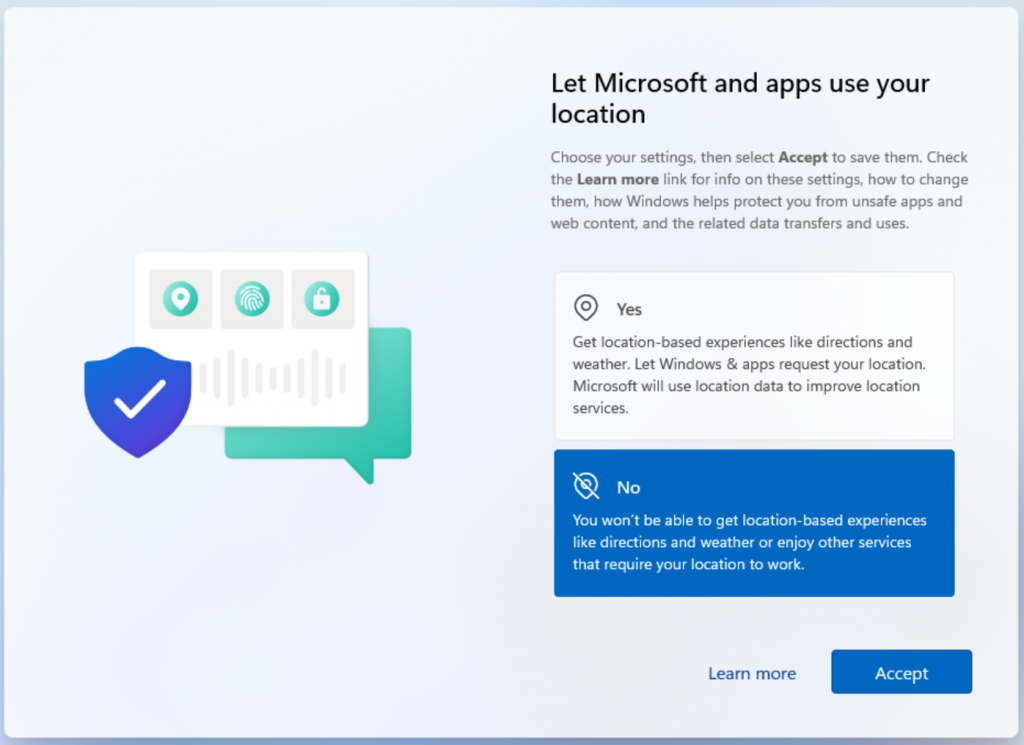
The options shown below are hidden when using Autopilot V1. In Autopilot V2 these are only hidden when using an Enterprise OS. If you use an Pro OS this will be shown.. Simply follow and complete these steps and continue. Thanks again Rudy 😉
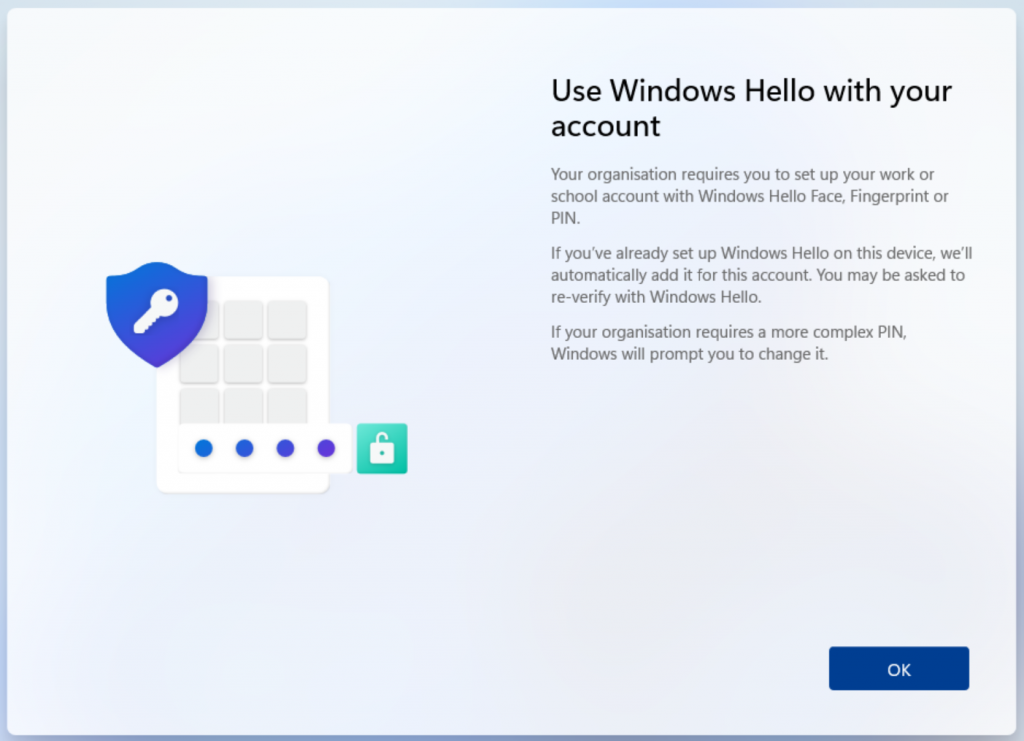
Configure Windows Hello for Business for your device (if policies are in place).
Monitor results
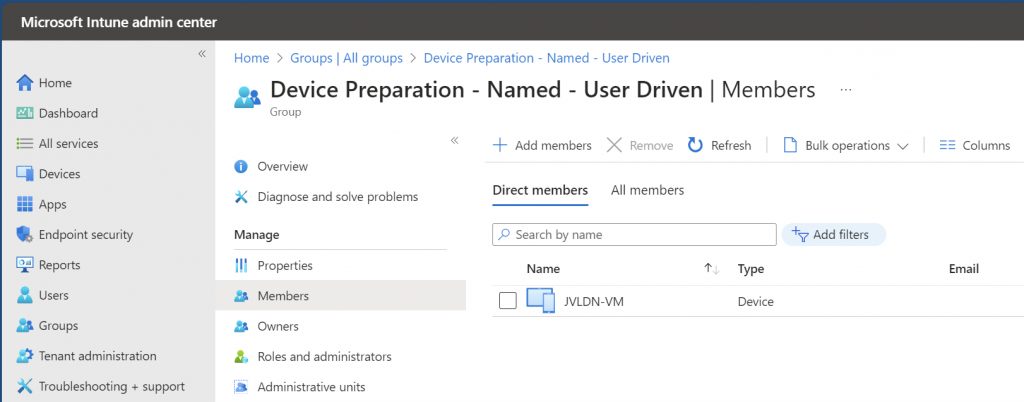
After the deployment, the device should be member of the device group you configured in the Device Preparation Policy.
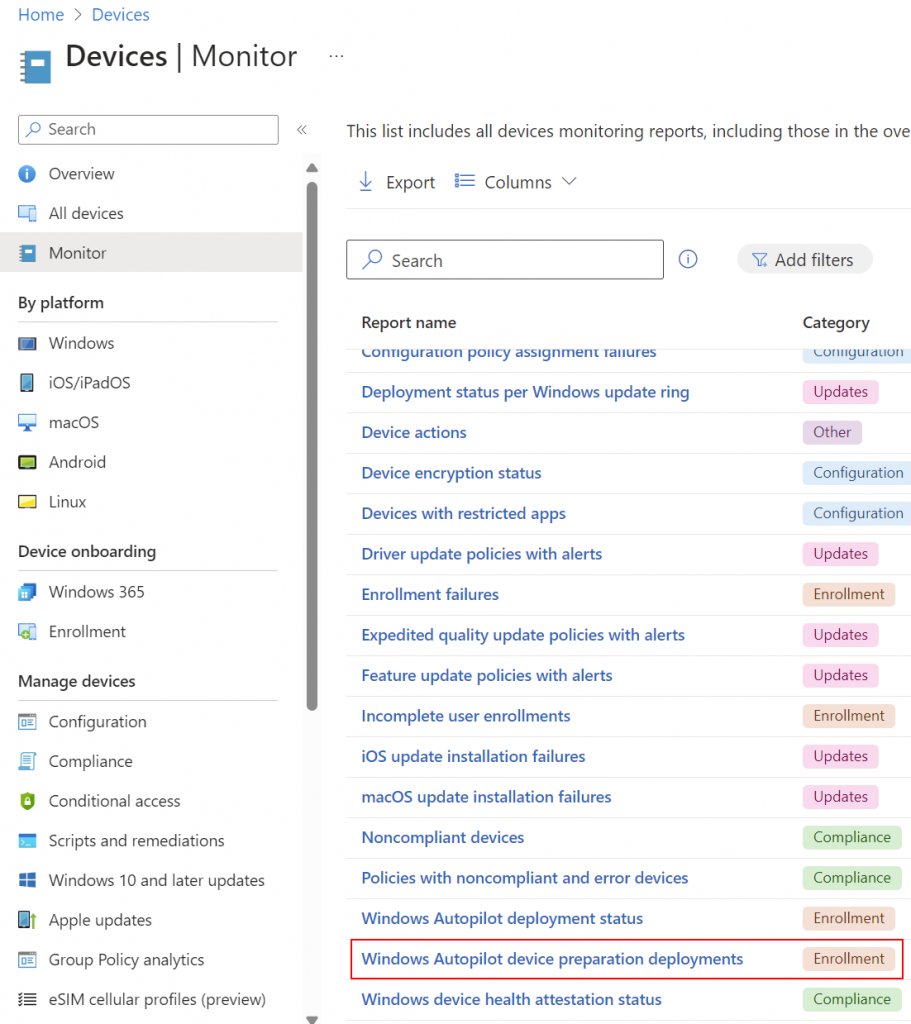
Go to Devices > Monitor -> Windows Autopilot device preparation deployments. Verify that your device enrollment is completed.
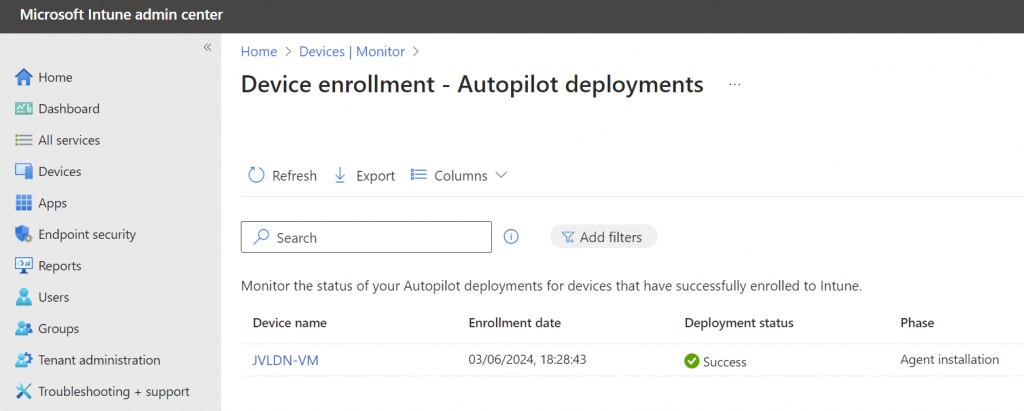
That’s it! Your device has now been enrolled using Autopilot V2. For more information i recommend you to take a look at the official Microsoft documentation here.
Written by Joey Verlinden
Back to all articles